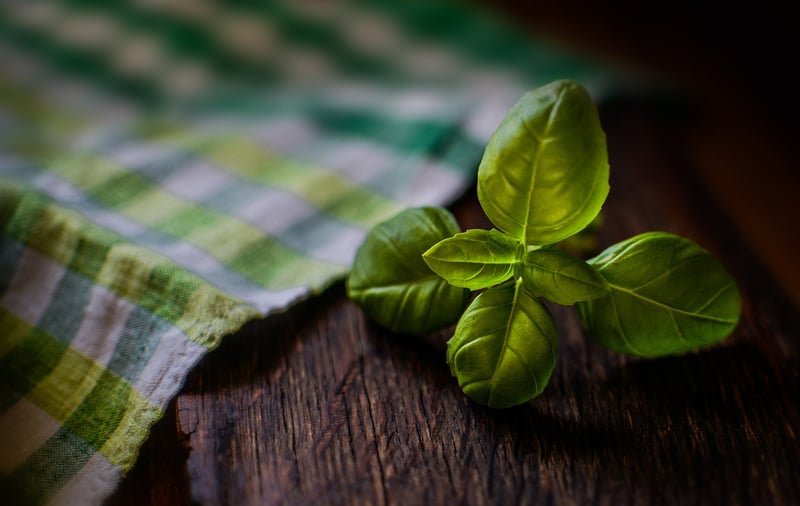
Herb Drying Techniques
Crafting Garden Solutions + Herb Drying Techniques
Garden Solutions
Having a beautiful and thriving garden requires some dedication and creativity. Here are some tips and solutions to help you make the most of your garden:
1. Vertical Gardening
Maximize your space by using vertical gardening techniques. Install trellises, wall planters, or hanging baskets to grow more plants without taking up extra ground space.

2. Companion Planting
Planting certain combinations of fruits, vegetables, and herbs together can enhance growth, deter pests, and improve flavor. Research companion planting guides to find the best combinations for your garden.
3. Mulching
Applying mulch around your plants helps retain moisture, suppress weeds, and regulate soil temperature. Use organic materials like straw, wood chips, or leaves for best results.
Herb Drying Techniques
Drying herbs is a great way to preserve their flavors for future use. Here are some popular herb drying techniques:
1. Air Drying
Hang bundles of herbs upside down in a warm, dry place with good air circulation. Once dried, store in airtight containers away from sunlight.
2. Oven Drying
Spread herbs on a baking sheet and place them in an oven set to low heat. Check frequently and store once crisp.
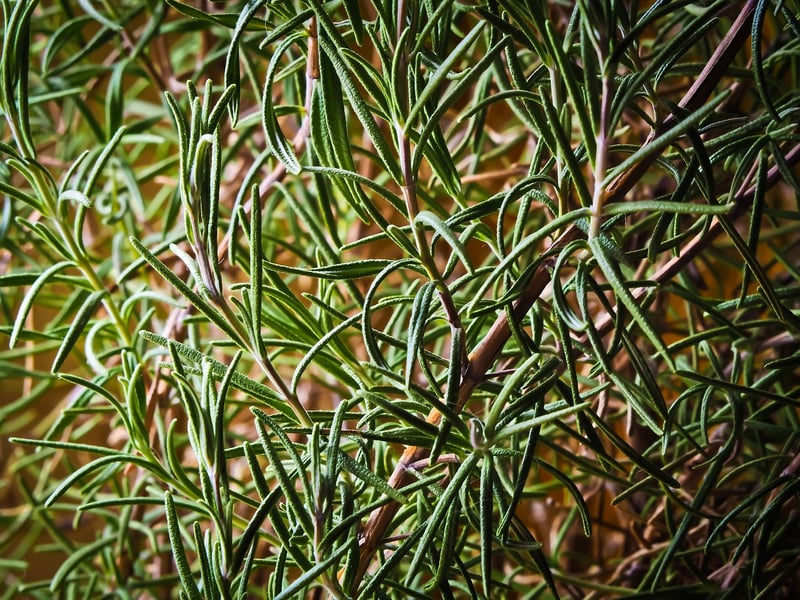
3. Dehydrator Drying
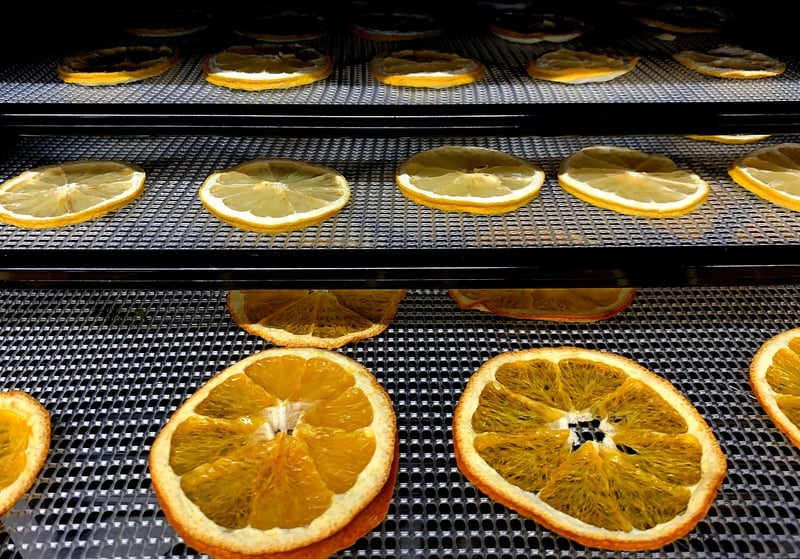
Use a dehydrator to quickly and evenly dry herbs at a low temperature. Store the dried herbs in glass containers for long-lasting freshness.
By implementing these garden solutions and herb drying techniques, you can enjoy a bountiful garden all year round and savor the flavors of your favorite herbs in your culinary creations.
